Last updated November 17, 2026







Free written scope consultation - allowances, timeline, and change-order rules on paper before a single trade is scheduled
Bathroom Remodeling Troubleshooting: Common Problems and How to Fix Them
Grout cracking in a newly tiled shower within the first year is not a grout problem. It’s almost always a substrate or waterproofing failure underneath, and re-grouting without fixing the cause will fail again in another six months. That’s the pattern we see again and again in Vallejo: the defect shows up long after the final walkthrough, when the crew is gone and the invoice is paid. This guide teaches you to read the symptoms. Cracks, smells, loose tile, slow drains – each one points to a specific installation failure that happened during construction, and knowing which one you’re looking at tells you whether it’s a workmanship issue, a maintenance issue, or something that needs a plumber or a structural inspection.
Quick Answer
Most post-remodel bathroom problems fall into five root causes: substrate deflection under tile, a missing or breached waterproofing membrane, a failed shower pan liner, improper thinset coverage, or a drain/venting issue in the new rough-in. Matching the symptom to the cause is what determines whether you have a valid workmanship claim under a written guarantee or a maintenance item you’re responsible for. The rule of thumb: if a defect appears in a location that never gets wet and follows a straight line, suspect framing movement. If it appears where water lives, suspect waterproofing.
Styles & brands we work with
- Kitchen remodeling
- Bathroom remodeling
- Home additions & ADU
- Roofing
- Windows & doors
- Driveway & pavers
- Fence
Table of Contents
- Why does new grout crack? Reading the crack pattern
- What causes a musty smell in a newly remodeled bathroom?
- Loose or hollow-sounding tiles: thinset coverage and substrate movement
- Troubleshooting drain performance: venting vs. clog vs. slope
- Is it a workmanship defect or an owner maintenance failure?
- How to document a defect before you call your contractor back
- When troubleshooting needs a licensed plumber or structural inspection
- Vallejo-specific issues: soil movement, humidity, and older plumbing
Why Does New Grout Crack? Reading the Crack Pattern
Grout is a symptom, not a cause. It’s the most brittle material in the assembly and the first to telegraph what’s happening underneath. The crack pattern tells you which failure mode you’re dealing with, and in our experience it usually reveals itself between six and eighteen months after the tile goes up.
Here’s how to read what you’re seeing:
- Straight-line cracks following a seam or a board joint: the substrate is moving. Either the cement backer board wasn’t properly fastened or a sheet seam was taped and floated without embedding mesh tape in thinset. When the panel joints open and close with seasonal movement, the tile above follows.
- Cracks radiating from a corner or a drain: movement at a rough opening or a point load. Sometimes a poorly supported drain body, sometimes a curb that wasn’t tied to the floor framing.
- Hairline cracks spread evenly across a floor field: deflection. The joist system under the bathroom is flexing beyond what tile can tolerate. This is a structural consideration, not a grout one.
- Cracks concentrated at the change of plane (wall-to-floor): often what looks like a failure is actually a correctly installed movement joint that was grouted instead of caulked. Tile standards call for a flexible sealant at these joints for exactly this reason.
Under the tile, a properly built shower or floor assembly includes a crack isolation membrane or an uncoupling membrane over the substrate. When that layer is missing – or when it was installed over a substrate that was already flexing – the tile and grout take the movement instead. A bathroom remodeling in Vallejo project that skipped the membrane on a pier-and-beam floor is a very common source of this. Re-grouting is cosmetic. The membrane has to be addressed, and that means tile comes out.
What Causes a Musty Smell in a Newly Remodeled Bathroom?
A persistent musty smell in a bathroom that was remodeled within the last two years almost always points to a shower pan liner failure, a missing vapor barrier behind the tile, or water trapped in a wall cavity that never gets air. It is not a cleaning problem. It’s a water problem, and it’s slow enough that most homeowners live with it for months before acting.
The three most common sources:
- Failed or improperly installed shower pan liner. The liner is the waterproof layer under the mortar bed in a traditional shower. If it was punctured during installation, wasn’t sloped correctly toward the drain, or was fastened through the wrong place at the curb, water seeps under the tile and sits there. The smell is the mortar bed and framing staying wet.
- Missing vapor barrier behind the shower walls. Cement board is not waterproof. It needs a vapor barrier behind it, or a surface-applied waterproofing membrane in front. If neither is present, moisture migrates into the wall cavity and the studs and insulation stay damp.
- Poor ventilation after the fact. A bathroom with an undersized or failed exhaust fan will grow musty regardless of how well the shower was built. Worth checking before you assume the worst – a bath fan should clear the room’s air volume in about 8 minutes.
How to narrow it down yourself: run a shower, then wait 48 hours and press a dry paper towel against the base of a tiled wall or the shower curb. If the towel shows moisture after a dry day, the water is coming from behind the tile, not the room. In Vallejo’s older homes, the smell sometimes tracks back to galvanized supply lines or a slow cast iron drain behind the wall rather than the tile at all – another reason not to assume.
Loose or Hollow-Sounding Tiles: Thinset Coverage and Substrate Movement
A hollow sound when you tap a tile means the thinset didn’t bond to it fully across the back. Standards call for a minimum of 80% coverage on interior dry areas and near-complete coverage in wet areas. When coverage is 50% or 60%, the tile is only partially supported, and small movements in the substrate work the weak spots loose over a year or two.
Tap tests are the homeowner’s friend here:
- Use the handle of a screwdriver or a coin and tap in a grid pattern across the floor and walls.
- Solid, high-pitched taps are well bonded. A dull, hollow thunk means a void underneath.
- Mark the hollow tiles with painter’s tape so you can photograph the pattern.
- If the hollow areas cluster around a particular wall or floor area, suspect substrate movement rather than scattered spot-bonding.
Two failure modes look the same from above. Improper thinset coverage means the installer didn’t back-butter or trowel correctly, and the problem stays where it was installed. Substrate movement means the joists or subfloor are flexing, and eventually loose tiles will migrate outward from the original area. The first is a workmanship issue that a written guarantee should cover. The second may involve framing correction before retiling – not just a cosmetic repair, which is why it’s worth having the subfloor checked before the tile goes back down. When we build a bathroom, the deflection calculation comes before the design. If you’re planning a remodel and want to start from a squared-away scope, our general contractor in Vallejo walks the framing before any tile conversation.
Troubleshooting Drain Performance: Venting vs. Clog vs. Slope
A slow drain in a remodeled bathroom has three possible root causes, and each one gives you a different signature. Getting this one right matters because the fixes range from a $15 vent inspection to a re-slope of the drain line.
Work through this order:
- Is it slow on every drain, or one? If the shower, sink, and tub all drain slowly, look at venting first. A blocked or improperly installed vent stack prevents air from entering the drain line, and water gurgles or drains in a slow pulse.
- Do you hear a gurgle from another fixture when the shower runs? That’s the classic venting signature. It’s a plumbing problem, not a tile problem, and cosmetic patching won’t help.
- Is it a single slow drain without gurgling? Suspect a clog first. New construction can leave thinset, grout, or drywall dust in the trap and drain line.
- Does the drain pool at the edges before it clears? Slope. In a new shower pan, the mortar bed or a pre-slope wasn’t built to fall toward the drain at a minimum 1/4 inch per foot. Water that stands in a corner after a shower is a workmanship defect, not a maintenance issue.
The 48-hour test: fill the shower pan with an inch of water and watch where it pools after draining. If water reliably collects at a corner or against a wall, the slope is wrong and needs to be corrected. If it drains slowly but evenly, work through the vent-and-clog path with a plumber before you call the remodeler back. Drain slope issues often show up in Vallejo homes where the rough plumbing was tied into an existing cast iron drain line at a shallower pitch than the new fixture needed.
Is It a Workmanship Defect or an Owner Maintenance Failure?
Not every post-remodel problem is the contractor’s responsibility. A written guarantee like the 365-Day Done Right Promise exists to cover the specific failures a proper installation should have prevented, and it doesn’t cover wear, neglect, or abuse. Here’s how to tell the difference.
Workmanship issues (covered by a proper guarantee):
- Grout cracking at board seams, drain rings, or change-of-plane joints that were grouted instead of caulked.
- Tile lifting or hollow-sounding within the guarantee window.
- Water pooling in a new shower pan or against the curb after use.
- Water coming through a shower wall into an adjacent room, or a persistent musty smell that clears when the shower isn’t used.
- A rough-in that drains improperly from day one, or a fixture that was set with a visible leak.
Maintenance issues (homeowner responsibility):
- Grout eroding in a shower that hasn’t been resealed since installation. Grout in a wet area is meant to be cleaned and periodically sealed.
- Mold on the surface of caulk or in a bathroom with no operating exhaust fan.
- Hair, soap scum, or a clogged tub drain from regular use.
- Chips or cracks from dropped objects, or a fixture that’s been struck.
- Water damage from a supply line the homeowner shut off and left leaking, or a toilet supply flex line that was never replaced.
The 365-Day Done Right Promise means that if work we completed fails within the guarantee window because of how it was done, we return and correct it at no charge. The scope of that guarantee is written on your documents before work starts, not after. That’s The Garrison Standard in practice: the coverage is defined up front so there’s no argument later.
How to Document a Defect Before You Call Your Contractor Back
Most warranty disagreements come down to evidence. If you can show what failed, when, and where, the conversation is short. If you call a contractor back with “something is wrong with the shower,” the conversation takes three visits before anyone agrees on anything. Take the photos before you call.
- Photograph wide, then close. One shot that shows the fixture in the room, one shot that fills the frame with the defect. Add a coin or a ruler for scale.
- Get the date in the frame. Use a phone camera’s date stamp, or photograph the defect alongside a piece of mail with a visible postmark. Date-stamped photos are worth considerably more than “sometime in March.”
- Log when the defect first appeared, and the weather. A crack that appeared in the first week of a hot dry spell points to a different failure than one that appeared after three days of rain.
- Record a short video of anything that drains. Fill the shower, then film the drain. Film the gurgle, if there is one.
- Do the tap test and mark the hollow tiles. Photograph the layout of hollow spots so the pattern shows.
- Check for active water with a dry paper towel and a moisture meter. A basic pin-type meter from any hardware store can show you relative moisture in a wall or curb, and it backs your claim with a number.
- Pull your project file. Keep the written scope, the material list, the signed guarantee, and the final invoice together in one folder. The name-brand parts matter here – a KraftMaid vanity or a Kohler valve has a manufacturer trail that backs a warranty claim, and the manufacturer’s own warranty sits alongside the installer’s.
Photograph everything before you touch anything. Do not re-grout, re-caulk, or patch – not even to “clean it up for the photo.” Any repair you do yourself can be argued as tampering, and that’s the fastest way to void a workmanship claim.
When Troubleshooting Needs a Licensed Plumber or Structural Inspection
Some problems escalate past what a remodeling callback can address. Knowing where that line sits keeps you from spending weeks going back and forth when the actual fix requires a different trade.
Call a licensed plumber directly when:
- You hear gurgling from multiple fixtures, or the whole house drains slowly – that’s a vent or main line issue, not a bathroom finish problem.
- There is water on the floor around the base of a toilet or shower that isn’t coming from the fixture itself.
- You smell sewer gas in the bathroom, which is a trap or vent concern.
- The new drain line backs up repeatedly after being snaked. That usually means a blocked vent, a bellied line, or a connection problem in the rough-in.
Call for a structural inspection when:
- Tiles crack in a straight line across a floor and re-crack after repair.
- A door starts rubbing a jamb in a bathroom that never had that problem before.
- The floor visibly dips or bounces when you step near a specific spot.
- You find moisture damage or a sagging joist in a crawlspace under the bathroom.
On a pier-and-beam house, which is common throughout Vallejo, the framing under a bathroom can move more than you’d expect from soil shifting and from the age of the foundation itself. When the diagnosis points to framing or rough plumbing, the right fix is structural or plumbing first and cosmetic after. A remodeler who tries to re-grout over a deflecting floor is doing the same thing twice. A remodeler who patches a failed drain slope without opening the pan is worse.
Vallejo-Specific Issues: Soil Movement, Humidity, and Older Plumbing
Vallejo sits between the Carquinez Strait and the Napa River, and the combination of marine moisture, clay-heavy soil movement, and a lot of pre-1970 housing stock creates failure patterns you won’t read about in a generic guide.
- Expansive clay soil means foundation movement. Homes in neighborhoods like Glen Cove and near the waterfront sit on soil that swells and shrinks across wet and dry seasons. That movement telegraphs into bathroom tile as hairline cracks at the change of plane. If you see cracks reappear in the same spots every spring, suspect the foundation, not the grout.
- Winter humidity is real. A shower without a functioning exhaust fan in Vallejo does not dry out on its own in January. Surface mustiness that would be a minor issue in Sacramento becomes a persistent problem here.
- Older homes have galvanized and cast iron plumbing. A new shower valve tied to a tired galvanized supply line can develop pressure or leak problems that look like a remodel defect but are really the old plumbing failing. Check the age of the lines before you blame the new fixture.
- Permits are required and inspections are documented. A properly pulled permit means the rough plumbing, waterproofing, and framing were inspected before close-up. If your project doesn’t have that paper trail, your warranty footing is weaker. Ask for the inspection record.
When we’re building a bathroom here, we size the exhaust fan for the room, slope the pan toward the drain with a pre-slope that’s separate from the mud bed, and photograph the waterproofing before tile goes down. That photographic record is part of the file the homeowner keeps. If something fails six months later, we can see exactly what was installed where. It’s the cheapest insurance a contractor can offer, and it’s the reason we can hand a homeowner a written guarantee and stand behind it. You can see what a squared-away scope looks like on our Bradford Remodeling Co Vallejo home page, and for the room that shares most of these problems, our breakdown of kitchen remodeling in Vallejo covers the same substrate and drainage questions in a different context.
Common Mistakes to Avoid
- Re-grouting without addressing the substrate. If grout cracked because the floor is moving, new grout will crack in the same line within months. Fix the movement first.
- Grouting change-of-plane joints. The wall-to-floor joint needs a flexible sealant, not grout. Tile standards call for it, and most cracks at that location come from ignoring it.
- Patting down the area before the contractor sees it. Cleaning up a defect or patching a hole destroys the evidence. Photograph it as-found and leave it that way until it’s been documented.
- Assuming a musty smell is a cleaning problem. In a bathroom built within the past two years, a persistent musty smell in Vallejo is water behind the tile until proven otherwise.
- Using bleach on mold at the surface of a shower wall without checking the wall itself. Surface treatment doesn’t fix a failed vapor barrier. The mold comes back because the moisture source never went away.
- Hiring a tile setter without checking the permit and the waterproofing plan. Tile appearance is the easy part. The part that fails 18 months later is the waterproofing, and it’s invisible at handoff.
- Accepting a verbal promise of “we’ll take care of it.” A guarantee is only as good as its writing. Ask for the covered items, the duration, and the process in writing before work starts.
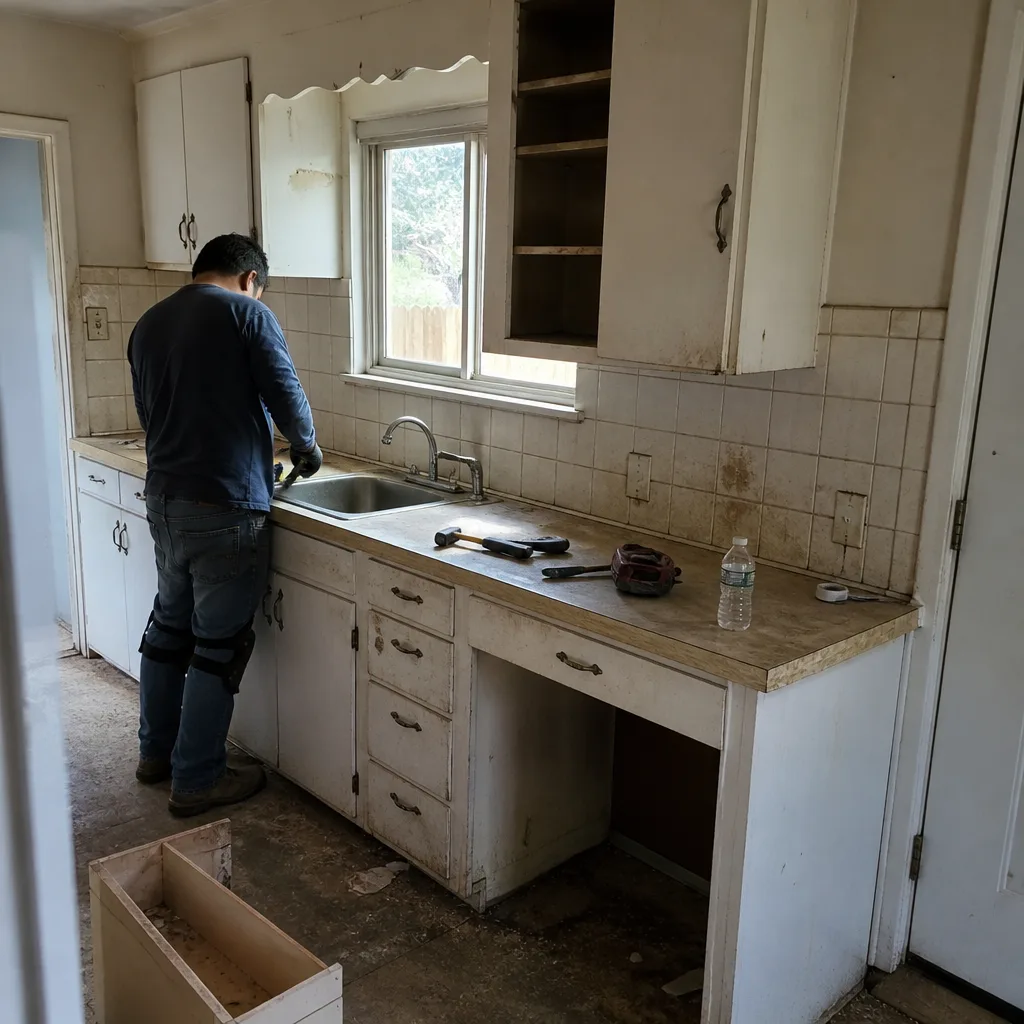
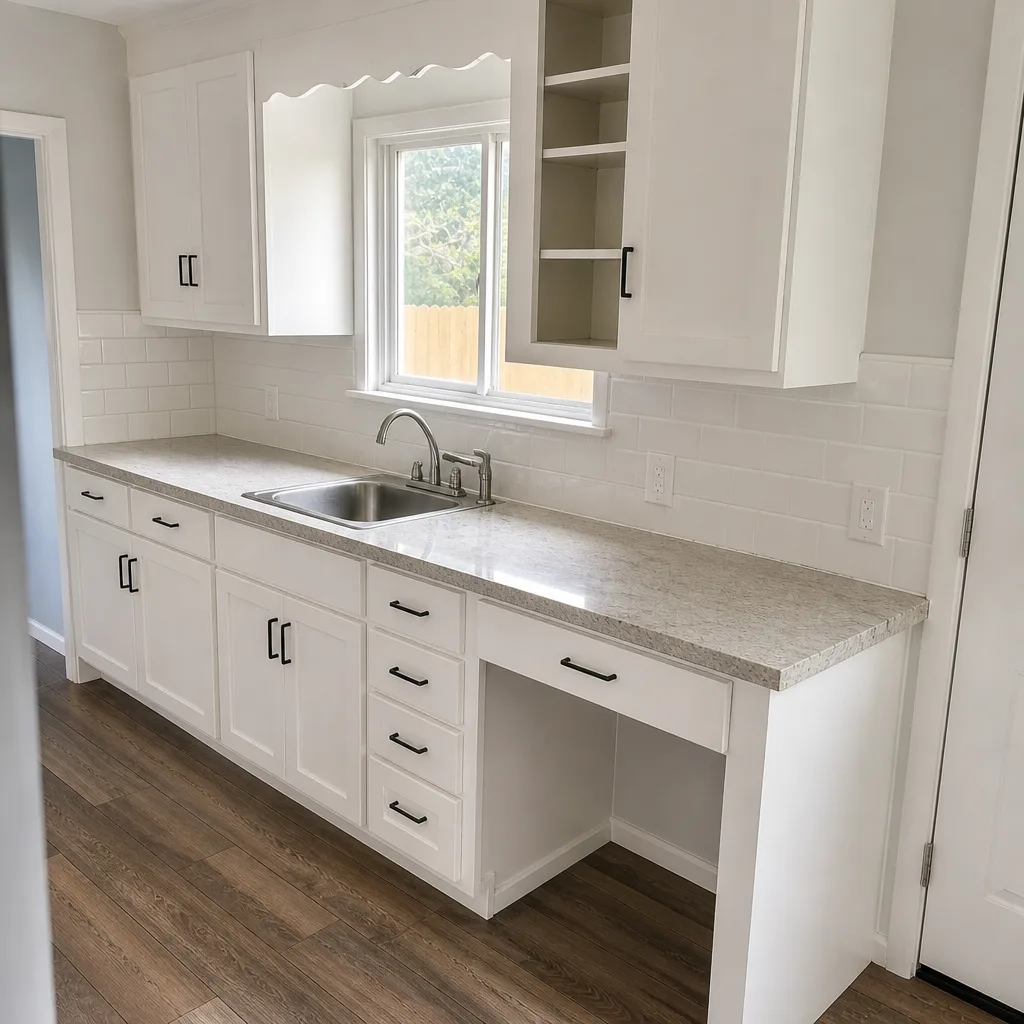
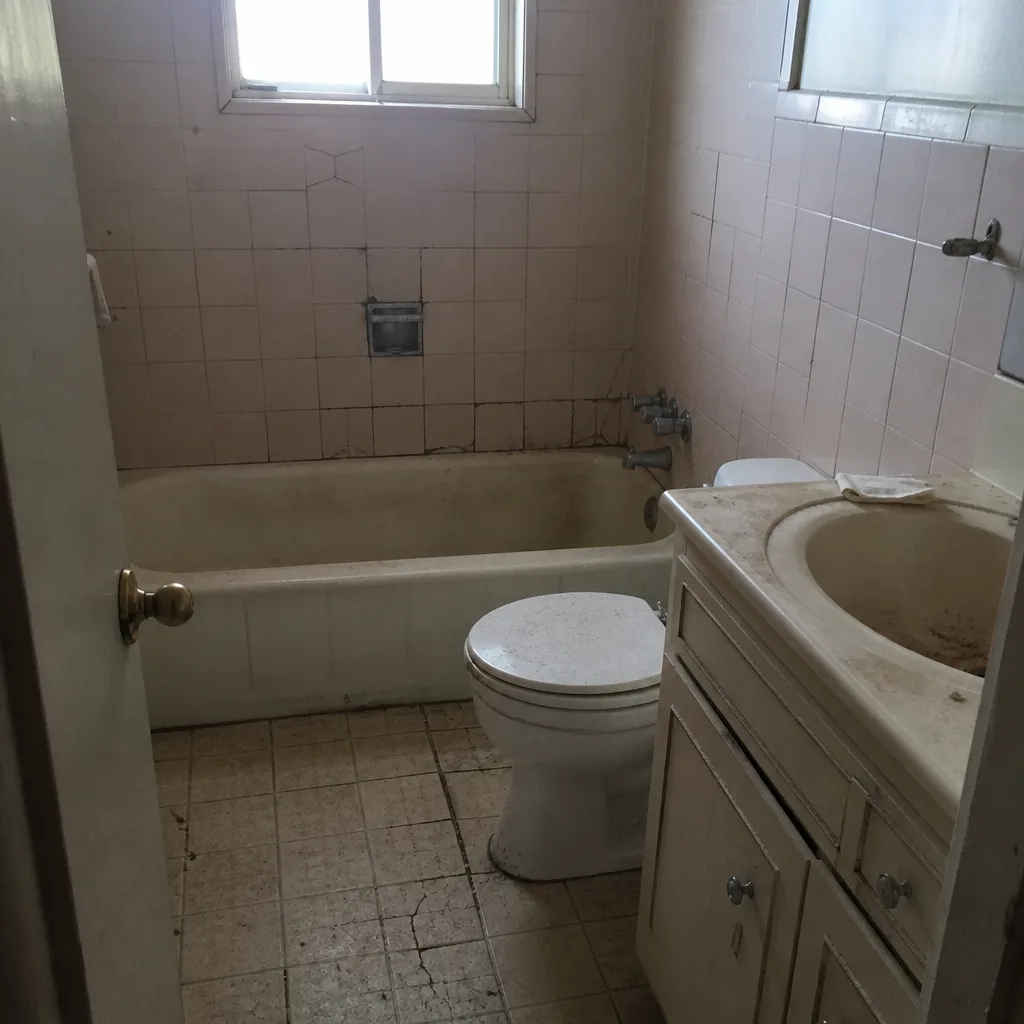
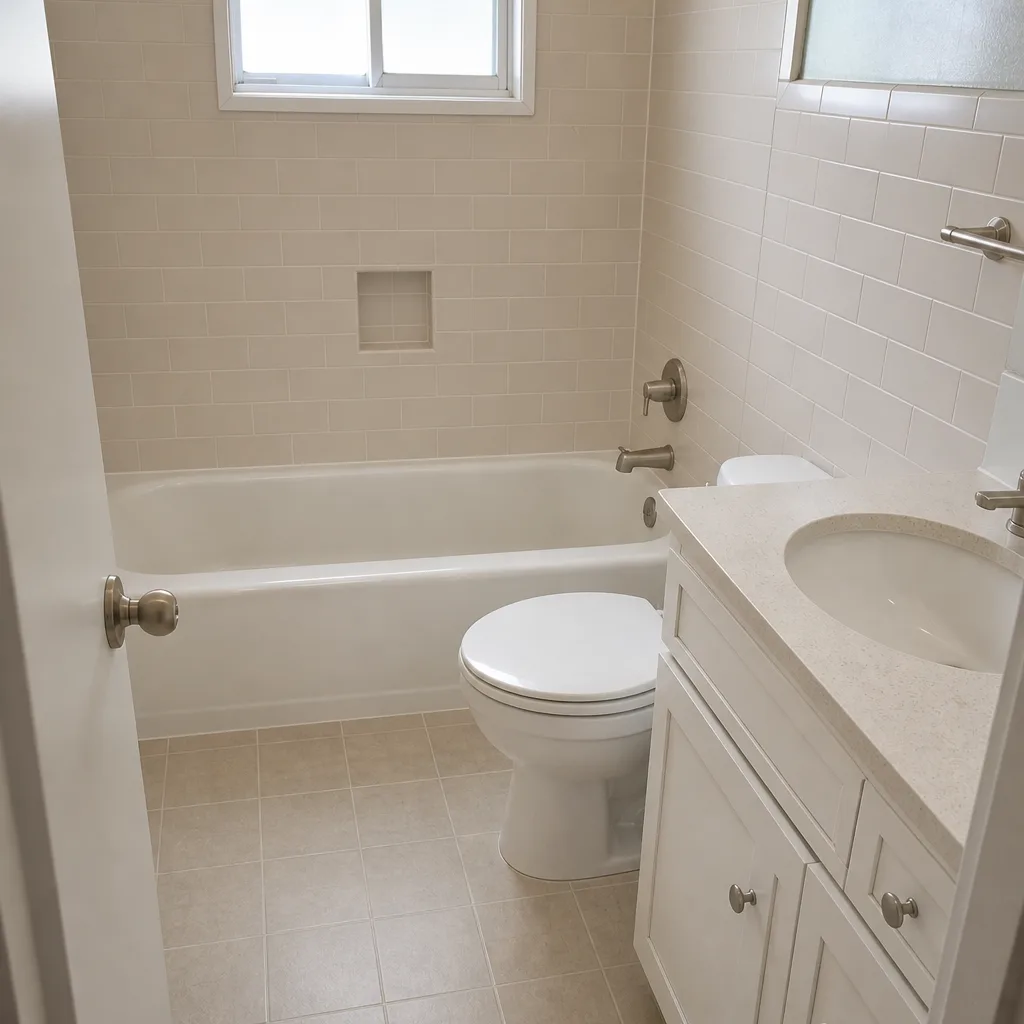
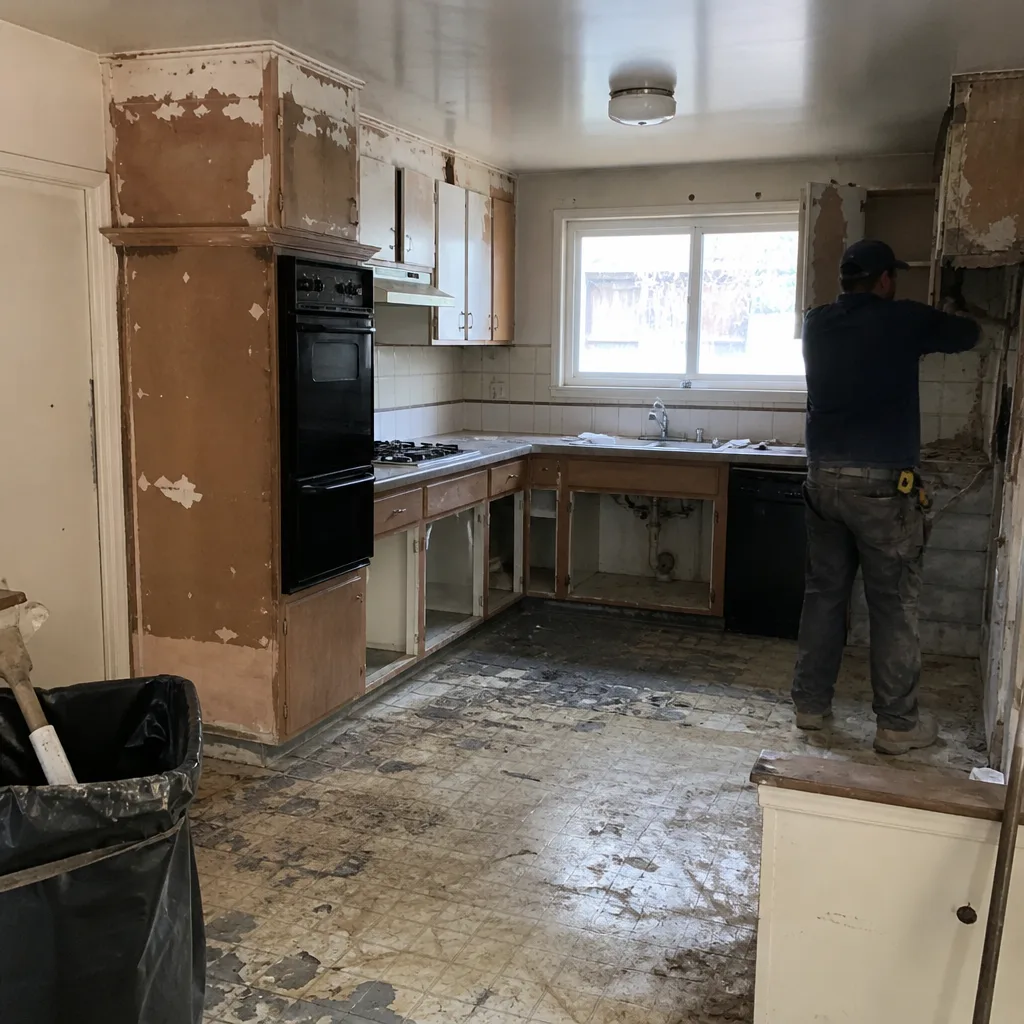
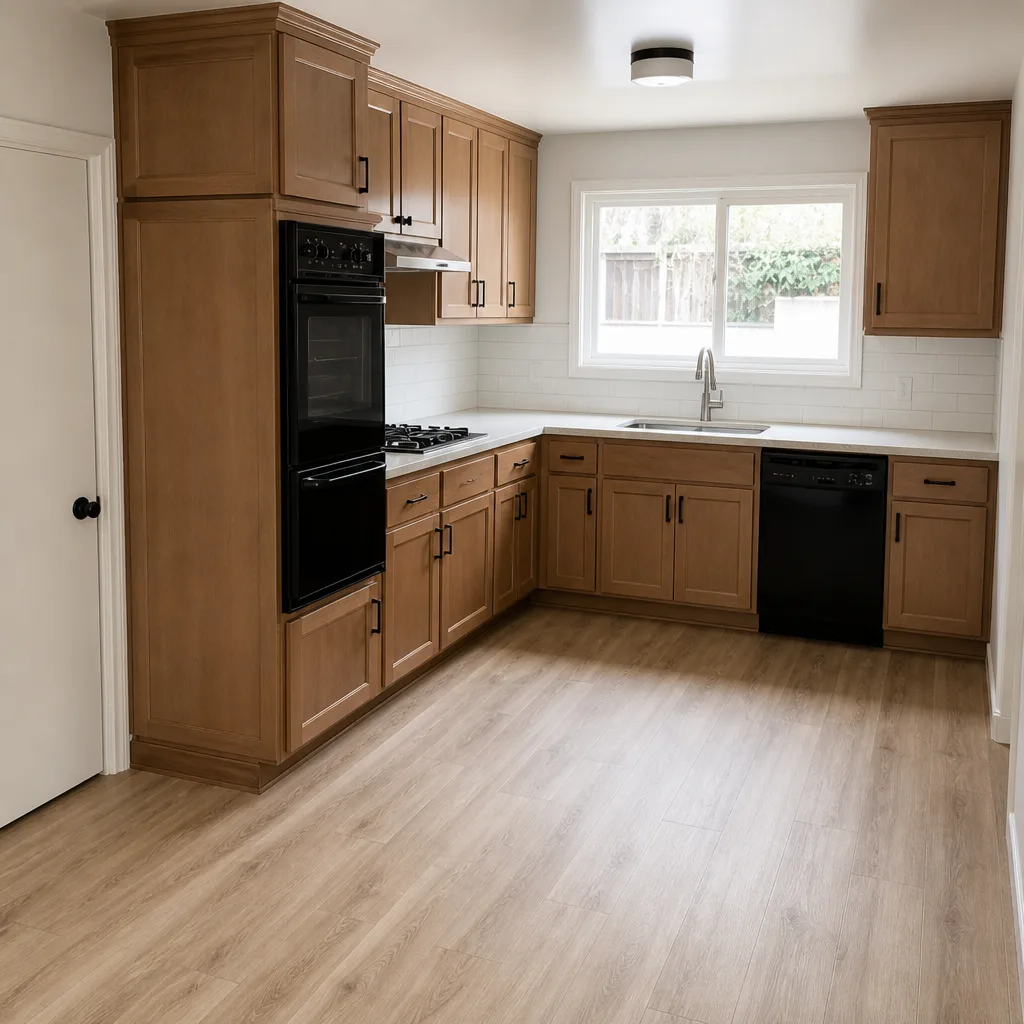
See the difference
 Before
 After
 Before
 After
 Before
 After
When to Call a Professional
Call a professional when the symptom points past cosmetics. Cracks that reappear after repair, water pooling in a new shower pan, musty smell that clears only when you stop using the shower, hollow tiles spreading beyond the original spot, or a drain that gurgles – those are the situations where a proper diagnosis pays for itself. Call a licensed plumber directly if the problem tracks to venting, main lines, or sewer gas. Call for a structural inspection if the floor is dipping, a door is rubbing a jamb, or a crawlspace shows moisture damage. If the defect looks like workmanship and your project is inside the guarantee window, call the original contractor back with your documentation in hand. Bradford Remodeling Co Vallejo offers free estimates in Vallejo – call (844) 560-4789.
Frequently Asked Questions
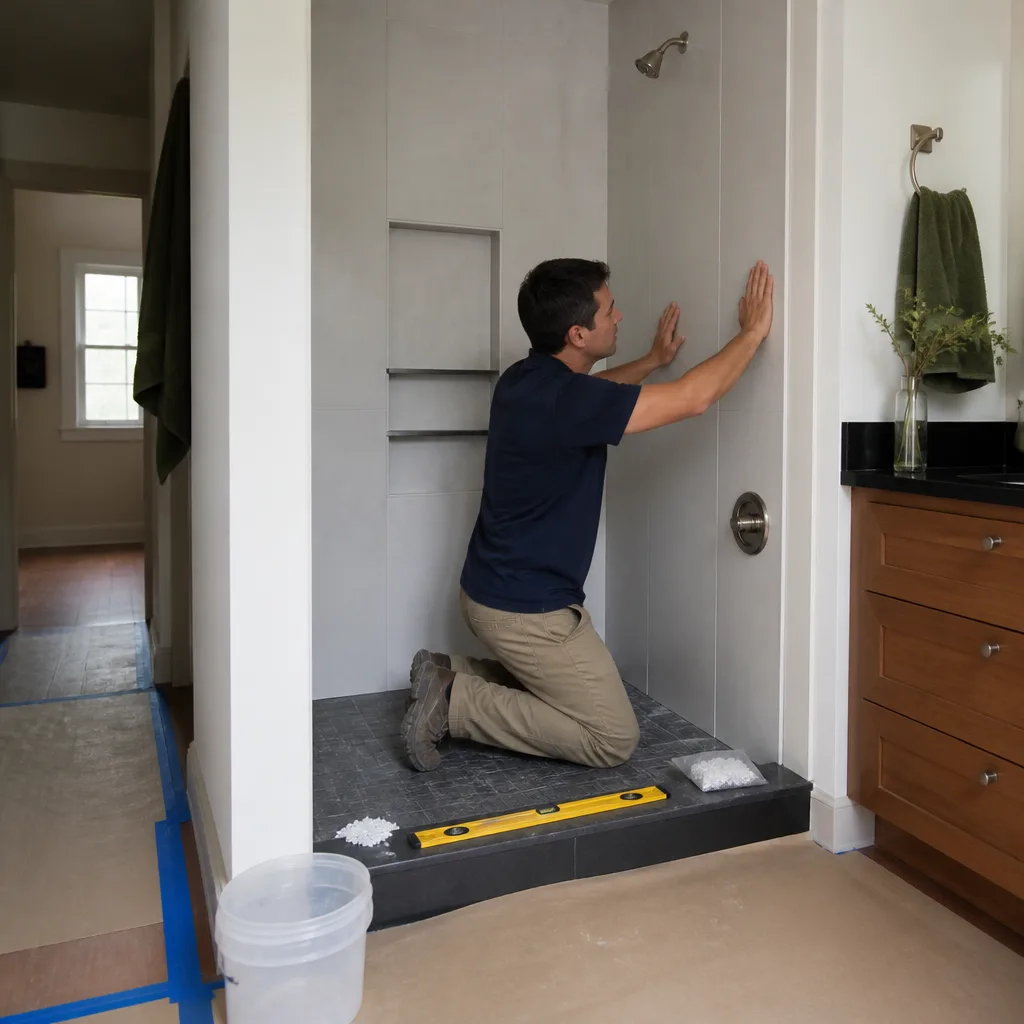
New shower grout that cracks within months usually means the substrate is moving underneath the tile or the change-of-plane joints were grouted instead of caulked. Grout has almost no flexibility, so movement in the backer board, subfloor joists, or at a wall-to-floor junction telegraphs straight through. Re-grouting without fixing the underlying cause will fail again. Call (844) 560-4789 if it’s inside your guarantee window – a proper workmanship guarantee should cover this.
A workmanship defect is something a proper installation should have prevented: tile lifting, water pooling in a new pan, grout cracking at board seams, tile movement, or a drain that was never sloped correctly. Maintenance is what you’re responsible for: cleaning, resealing grout in wet areas, replacing caulk, clearing hair clogs, and running the exhaust fan. The rule of thumb: if it appeared in a location that never gets wet and follows a straight line, suspect framing movement. If it appeared where water lives, suspect waterproofing. The written guarantee scope should spell out which side of the line any specific issue sits on. Call us for a free estimate if you need a second opinion – (844) 560-4789.
Photograph wide and close, with the date visible, plus a video of anything that drains. Add the tap-test grid showing hollow tiles and a dry paper towel against the base of the wall or curb to show moisture. Do not clean, re-grout, or patch anything – cleanup can be argued as tampering and it weakens a warranty claim. Also pull your written scope, material list, signed guarantee, and final invoice into one file. Dates and photos carry more weight than a description over the phone.
A drain that gurgles from other fixtures or drains in a slow pulse is usually venting. A drain that pools at the edges of the pan before it clears is a slope problem. A single slow drain without gurgling is most often a clog from construction debris. Run the 48-hour test: fill the pan with an inch of water, drain it, and watch where it pools. Pooling at a corner or against a wall means the pan slope is wrong and is a workmanship issue. Call (844) 560-4789 for a free estimate if the slope is the problem.
If the smell clears when you stop using the shower for a few days and comes back when you start again, it’s very likely water behind the tile, not surface mold or ventilation. If the smell is constant regardless of shower use, look at the exhaust fan first. Vallejo’s marine humidity makes a properly sized, functional exhaust fan non-negotiable. When in doubt, run a pin-type moisture meter against the shower curb and wall – a reading that stays high after 48 dry hours is the answer.
Call a licensed plumber if the issue is gurgling from multiple fixtures, sewer gas, water on the floor around the base of a toilet or shower that isn’t coming from the fixture, or a drain that backs up repeatedly after being snaked. Call for a structural inspection if tiles re-crack after repair in the same line, a door starts rubbing a jamb, or the floor visibly dips or bounces. A remodeling callback handles finish-level defects inside the written guarantee window – plumbing and structural issues need the trade that owns them. Call (844) 560-4789 if you’re not sure which one you’re looking at.
The Bottom Line
The symptoms that show up in a bathroom 6 to 18 months after a remodel are diagnostic. Grout cracks tell you about substrate movement. Musty smells tell you about waterproofing. Hollow-sounding tiles tell you about thinset coverage or a flexing floor. Slow drains tell you venting, clog, or slope. Read the symptom correctly, photograph it clearly, and know which side of the workmanship-versus-maintenance line it sits on, and the fix becomes straightforward instead of a fight. In Vallejo specifically, expansive clay soil and older plumbing raise the odds that a problem is bigger than a grout repair. The 365-Day Done Right Promise exists for the workmanship side of that list: if work we did fails within a year, we return and correct it at no charge. That coverage is written before work starts, not promised on the phone after the failures appear.
Call Bradford Remodeling Co Vallejo at (844) 560-4789 for a free estimate. A live person answers the phone, 24 hours a day, 7 days a week. You’ll get a written price before any work starts – always included, non-negotiable. Our technicians have up to 22 years of experience, and every completed project carries the 365-Day Done Right Promise in writing.
Written by the team at Bradford Remodeling Co Vallejo.