Last updated November 17, 2026





Free written scope consultation - allowances, timeline, and change-order rules on paper before a single trade is scheduled
Home Remodeling Troubleshooting: Common Problems and How to Fix Them
A floor that squeaks or bounces after a remodel is almost never a flooring problem. It’s a fastener failure or a subfloor gap that the new flooring covered up, and if you replace the surface without addressing it, the squeak comes back inside a year. We’ve watched homeowners spend thousands on the wrong repair because they chased the symptom instead of the cause. Failures in remodeling rarely stay isolated: a badly installed window becomes a drywall crack six months later, a skipped vapor barrier becomes a buckled floor, a missing shim becomes a door that won’t latch. This guide gives you the diagnostic map. You’ll learn how to read the symptom, trace it back to the construction failure, tell normal settling from real workmanship defects, document your case, and know when to call in a Vallejo professional.
Quick Answer
Most post-remodel failures trace to a small set of causes: improper fastening, missing flashing or vapor barriers, inadequate shimming, or structural movement that wasn’t addressed before surfaces went on. To troubleshoot, you match the symptom to the construction detail it points to (floor bounce to subfloor fastening, corner cracks to tape versus structure, a sticking door to shimming versus settlement), then you document it with photos and dates before contacting the original contractor or an independent inspection. Replacing the visible surface without fixing the cause guarantees the problem returns.
Styles & brands we work with
- Kitchen remodeling
- Bathroom remodeling
- Home additions & ADU
- Roofing
- Windows & doors
- Driveway & pavers
- Fence
Table of Contents
- The Symptom-to-Cause Diagnostic Map
- Floor Bounce and Squeaks: Subfloor Versus Joist
- Doors That Won’t Latch and Windows That Leak
- Drywall Cracks: Tape Failure Versus Structural Movement
- Normal Settling Versus Genuine Workmanship Failure
- Tracing Water Intrusion After a Remodel
- What to Document Before You Invoke a Warranty
- When a Callback Escalates Beyond the Original Scope
The Symptom-to-Cause Diagnostic Map
Here’s the core idea behind this entire guide: in remodeling, symptoms lie. What you see on the surface is rarely where the failure started. A drywall crack in a Vallejo living room might be tape that dried out in a hot, dry summer; it might also be a foundation that moved. The difference between a $300 repair and a $12,000 repair is whether you trace the symptom back to its source before anyone touches a tool.
Use this map to orient yourself before you call anyone:
- Squeak or bounce underfoot points to subfloor fastening, joist spacing, or a gap between subfloor panels, not the flooring surface.
- Door that won’t latch or drags at the top corner points to improper shimming at install or, if it developed slowly, hinge-side settlement.
- Diagonal cracks from a door or window corner point to structural movement or a header that wasn’t sized right.
- Cracks along a drywall seam or a straight tape line point to tape or mud failure, which is cosmetic.
- Staining or soft drywall near a window or exterior wall points to flashing or seal failure at a penetration.
- Buckling or cupping floors point to moisture, which almost always means a vapor barrier or grade problem.
Vallejo has a specific wrinkle here. The combination of wet winters and hot, dry summers creates real seasonal movement in wood framing, so a certain amount of tightness in summer and looseness in winter is normal. The question is whether a symptom tracks the seasons or gets worse steadily. Seasonal movement comes and goes. Workmanship failure only goes one direction.
Floor Bounce and Squeaks: Subfloor Versus Joist
Floor bounce after a remodel is a structural fastening question, not a flooring question. The flooring is the messenger. The message is underneath it. Two failures cause most of it: subfloor panels that weren’t glued and screwed down properly, or joists that were cut, notched, or spaced too far apart to carry the load.
Here’s how to tell which one you’re dealing with:
- Listen and locate. A squeak at a specific seam or threshold usually means subfloor panel edges rubbing against each other, which is a fastening gap.
- Test the bounce. A springy, trampoline feel across a whole span points to joist deflection. A localized dip or soft spot points to subfloor.
- Check the basement or crawlspace. Look for sistered joists, cut notches, or a joist that was drilled for plumbing and left weakened. Anything that removed more than a third of the joist depth is a problem.
- Look for screw pops. If the fasteners backed out of the subfloor, you’ll see small bumps or cracks in the flooring surface along the joist lines.
If a kitchen remodel in Vallejo left you with a bouncy floor and visible surface cracks, the honest fix starts below the flooring. Screws and construction adhesive into joists, blocking added at panel seams, and in some cases sistering a joist will solve it. Surface fixes won’t. The kitchen remodeling in Vallejo work we do starts with a subfloor check for exactly this reason; the cost of finding a deflection problem before tile goes down is near zero, and the cost of finding it after is a full redo.
Bounce that keeps getting worse instead of stabilizing is a legitimate callback. Subfloor fastening is not a cosmetic detail, and a contractor who shrugs at a floor that flexes under normal foot traffic is telling you something about how they think.
Doors That Won’t Latch and Windows That Leak
A door that won’t latch after a remodel has two main causes, and they call for different responses. Improper shimming is the common one, and it’s a workmanship issue. Settlement is the serious one, and it points to a foundation or framing problem.
Here’s the test:
- Check the reveal. Look at the gap between the door and the frame. If the gap is even at the top and bottom but the door hits at the strike plate, the shimming or hinge alignment is off.
- Check the frame for square. A frame that’s out of square by more than an eighth of an inch over the height of the door is either a bad install or building movement.
- Look for drywall cracks radiating from the top corners. If those show up alongside a sticking door, treat it as structural until proven otherwise.
- Track whether it’s seasonal. A door that sticks only in humid weather is swelling wood, which is normal. A door that never latches from day one is an install problem.
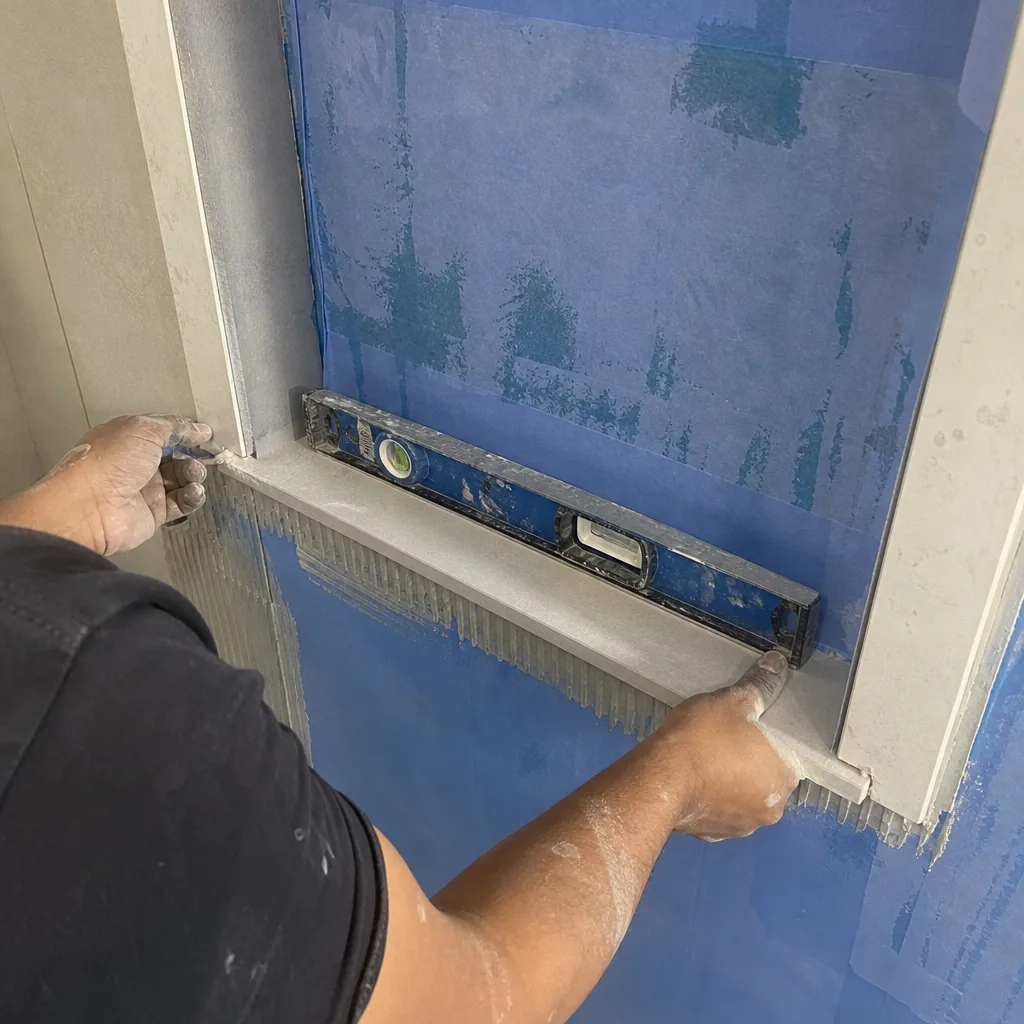
Windows are their own case. Leaks at windows after a remodel are almost always one of three failures: missing or improperly lapped flashing, no backer rod or sealant behind the trim, or a window unit installed out of level so water pools on the sill instead of draining. The diagnostic question is always “where is the water entering?” Start at the top of the frame, not the bottom. Water follows gravity, so a stain at the bottom of a window often started at a corner joint at the top. If your Vallejo home is in a hillside area and the exterior is finished in James Hardie siding, that material behaves well with water, but only if the flashing behind it was done by the book. The siding is not the waterproofing. The flashing is.
Drywall Cracks: Tape Failure Versus Structural Movement
You can tell most drywall cracks apart in about 60 seconds. The pattern matters more than the size.
- Straight-line cracks along a seam or ceiling-to-wall joint: tape failure. The paper tape or the mud over it dried, shrank, or lost adhesion. Usually cosmetic, often under a quarter-inch.
- Diagonal cracks from the top corners of a door or window: structural movement. The corner of an opening is where stress concentrates, and the crack is the drywall expressing it.
- Cracks at ceiling-wall junctions that repeat in the same room: often joist or truss deflection that wasn’t addressed when the drywall went up.
- Cracks that widen noticeably over a few months: movement that’s still happening. Patching it now is a temporary fix.
Width matters as a rough guide. Hairline cracks under 1/16 inch that show up in the first year are common as framing settles into a new load path, and a skilled drywall crew can return and touch them up as part of a normal callback. Cracks a quarter-inch wide or wider, or cracks that keep widening, should get a structural look before anyone patches. The other thing we’ve learned from drywall in Vallejo specifically: our dry, warm summers pull moisture out of framing fast, and a house with fresh drywall finished in spring will often show small cracks by late summer that a house finished in fall never shows. That’s not a workmanship failure on the drywall itself, but it’s worth knowing so you’re not surprised.
Normal Settling Versus Genuine Workmanship Failure
The word “settling” gets used to explain away a lot. Here’s how to keep it honest. There’s no single national number, but these are the tolerances a quality contractor will stand behind without argument.
- Drywall: hairline cracks up to 1/16 inch that appear in the first year, and that stop growing, are normal. Anything wider, any diagonal crack at an opening corner, or any crack that widens after being patched is a callback.
- Flooring: a floor that feels firm underfoot and shows no gaps at seams greater than 1/32 inch is within tolerance. Visible gaps, cupping over 1/16 inch, or screws backing out are not.
- Exterior trim and fascia: joints that open a fraction over seasonal change are normal. Gaps you can fit a credit card into, or trim pulling off the wall, point to failed fasteners or missing backing.
- Doors and windows: minor seasonal tightness is fine. A door that never latches cleanly from day one, or a window that leaks at a corner, is a failure regardless of how it’s explained.
- Tile: any cracked tile or loose tile under normal use (not a dropped object) is a workmanship issue, usually adhesion or subfloor deflection.
The practical rule: normal settling tracks the seasons, stays small, and stabilizes. Workmanship failure goes one direction and gets worse. If a contractor tells you a wobbly floor or a widening crack is “just settling,” ask them to put that in writing with a measurement, then measure it yourself in 60 days. A real problem doesn’t stay in its lane. This is exactly the kind of thing a written guarantee is for, which is why our Bradford Remodeling Co Vallejo home page explains the 365-Day Done Right Promise in full: if the work fails inside the guarantee period, we come back and correct it at no charge.
Tracing Water Intrusion After a Remodel
Don’t cut open a wall to find a leak until you’ve run the systematic path. Water intrusion after a remodel has a short list of suspects, and you check them in order from the outside in.
- Foundation grade. Look at the soil line around the foundation. If it slopes toward the house or sits within a couple inches of the siding, water is getting in at the base. This is one of the most common post-remodel leaks in older Vallejo homes, and adding soil or mulch during landscaping is a frequent trigger.
- Roof penetrations. Check vents, flues, skylights, and any new chimney work. A stain at the top of a wall often starts at a penetration directly uphill.
- Window and door flashing. At the head and sides of every opening, flashing should lap shingle-style: upper over lower. Missing drip caps and reversed laps are frequent failures.
- Siding joints and penetrations. Anything that penetrated the exterior (a hose bib, a new vent, an electrical box) needs proper sealant and flashing. Gaps at these points track water straight into the wall cavity.
- Interior plumbing. If the leak only appears when a fixture runs, it’s a rough-in problem, not weather. Shut off the supply and see if the staining stops.
Once you’ve located the zone, confirm it before opening the wall. A moisture meter and a visual check from outside will tell you which suspect is guilty. If your kitchen or bath was recently reworked and the leak started after, call for an independent inspection of the bathroom remodeling in Vallejo work before cutting anything. The wrong cut turns a small flashing repair into a full wall replacement, and the leak is often resolved for a fraction by fixing the exterior detail first.
What to Document Before You Invoke a Warranty
The difference between a fast callback and a drawn-out dispute is documentation. Get this right and the conversation is short. Here’s what to collect.
- Photos with a date and a scale reference. A dollar bill, a coin, or a tape measure in the frame tells a real story. Shoot each defect from at least two angles.
- A written notice to the contractor. Describe the symptom, the date it appeared, and what you’ve already ruled out. Send it in writing, by email or certified mail, and keep a copy. A phone call is fine to start, but it doesn’t create a record.
- A timeline. Note the date you first noticed it, when it got worse, and any measurement changes. This is your evidence that the problem is progressive, not settling.
- Your original scope and written price. The written agreement defines what was and wasn’t covered. If your contractor gave you a price in writing before work started, that’s the document you’ll reference. Ours always does, by design.
- A response timeline. Give the contractor a reasonable window in writing to respond and schedule a return visit. If the work is covered under a written guarantee, check the terms so you know what the window is.
If the contractor doesn’t respond or won’t honor a written warranty, your options include the California Contractors State License Board (CSLB) complaint process, which asks for much of this documentation anyway, and a separate inspection to establish cause in writing. That inspection report is worth the cost because it settles the “whose fault” question with a professional opinion instead of a back-and-forth. Background-checked, uniformed technicians show up on every job we run, so if you ever need to know who’s coming to look, you know before they arrive.
When a Callback Escalates Beyond the Original Scope
Sometimes a callback is really a handoff. The trouble you’re seeing is outside what the original contractor was licensed or scoped to fix, and pushing them to handle it anyway makes it worse. The signs:
- The defect traces to a trade the original contractor subbed out, like plumbing rough-in or electrical, and the failure is in their work, not the finished surface.
- A structural issue surfaced after the finish work (a cracked joist, a settling foundation, a header that wasn’t sized for the opening), which calls for a structural evaluation before anyone repairs a wall.
- The original contractor has stopped responding or can’t establish cause, and you need an independent inspection for a warranty or insurance claim.
- There’s moisture or mold involved that needs a specialist, not a cosmetic patching.
In each case, the right move is a documented inspection and, when needed, a different licensed trade who can address the real cause. Patching a symptom on top of a scope problem is the most expensive way to handle a remodel. A written, line-item scope and a written price before work starts is what keeps a callback inside the original job where it belongs. Detailed plans and a single accountable general contractor still matter; our general contractor in Vallejo guide covers how a properly scoped project is set up so a callback stays a callback.
Common Mistakes to Avoid
- Replacing the surface without fixing the cause. New flooring over a bad subfloor squeaks again within the year. Always diagnose the failed detail before you re-finish.
- Patching a widening crack. Drywall mud over active movement will crack again. Confirm the movement has stopped, or the cause has been fixed, first.
- Cutting into a wall before you’ve checked the exterior. Most water intrusion shows up outside first: grade, flashing, penetrations. Look from the outside in before you open up drywall.
- Accepting “it’s just settling” without a measurement. Ask for it in writing and measure again in 60 days. Real settlement stabilizes; workmanship failure doesn’t.
- Not documenting before you complain. Photos with dates, a written notice, and a timeline turn a dispute into a scheduling call. Do the documentation first.
- Letting a scope problem get patched. If the defect is in a trade or a structural element outside the original scope, fix the scope, not the finish.
- Ignoring Vallejo’s seasonal swing. Our wet winters and dry summers move framing. A crack that appears and stops in the first year after drywall is different from a crack that keeps widening. Know which you’re looking at.
See the difference
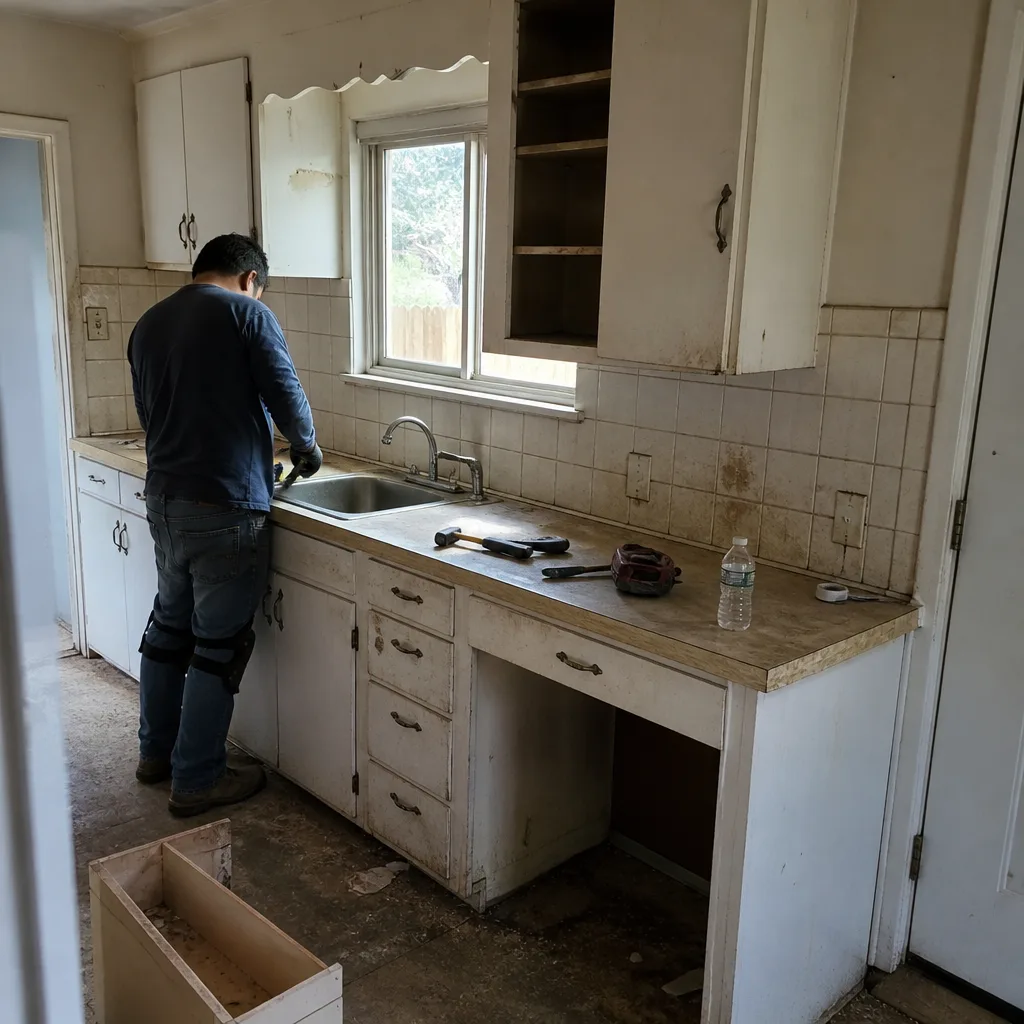 Before
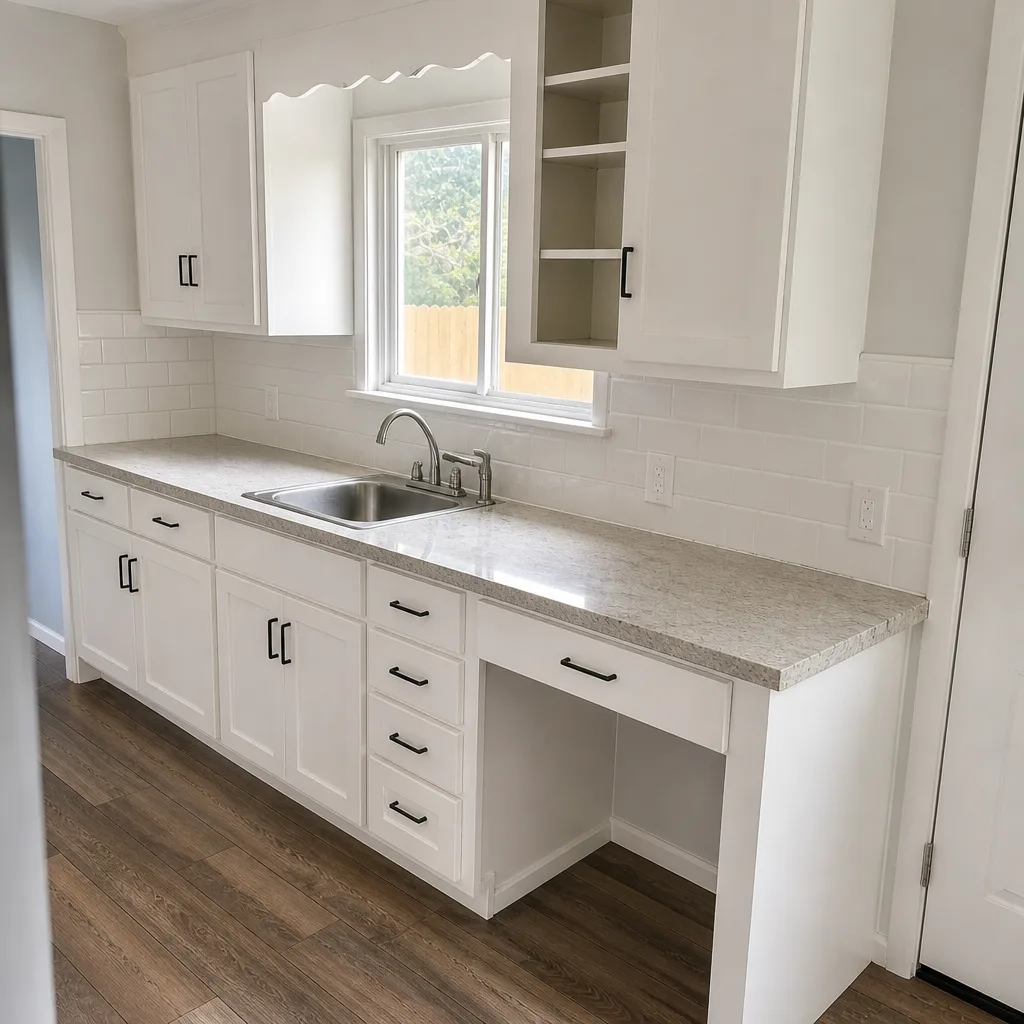 After
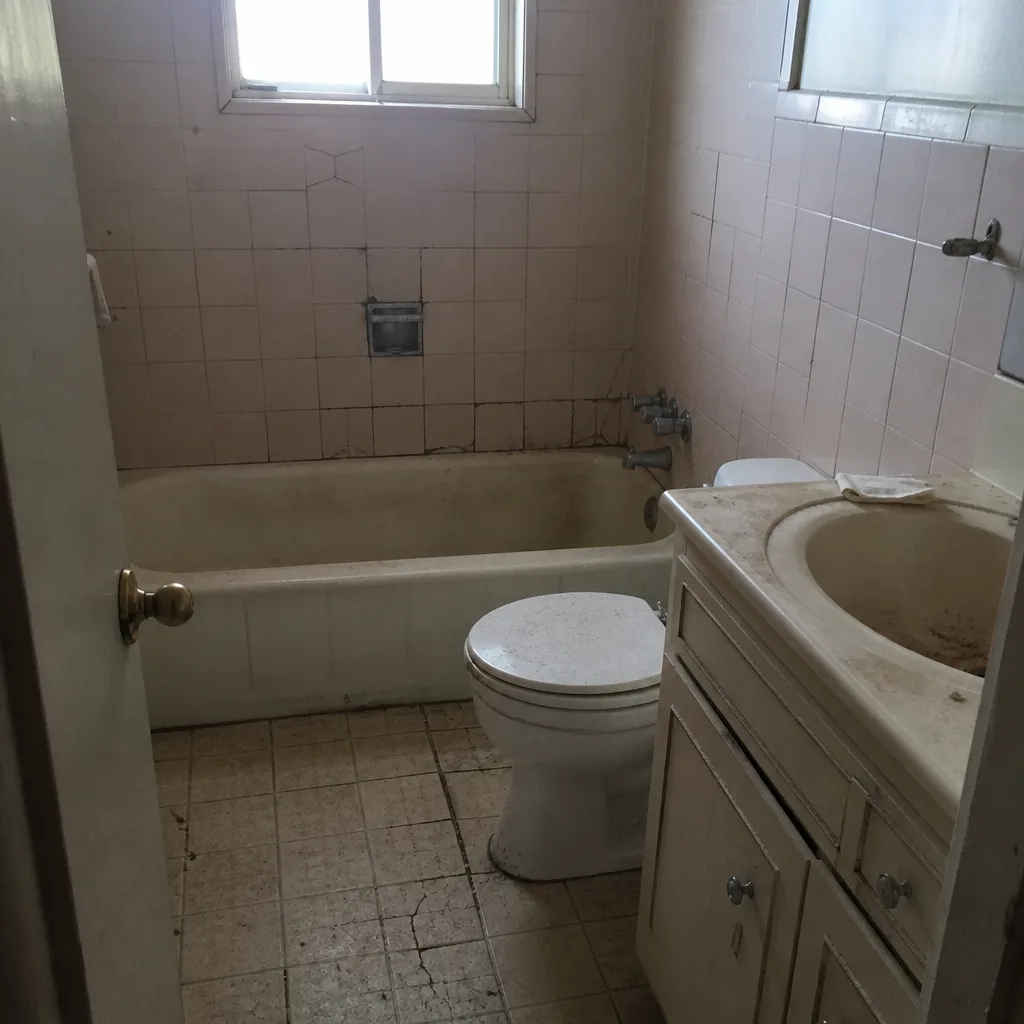 Before
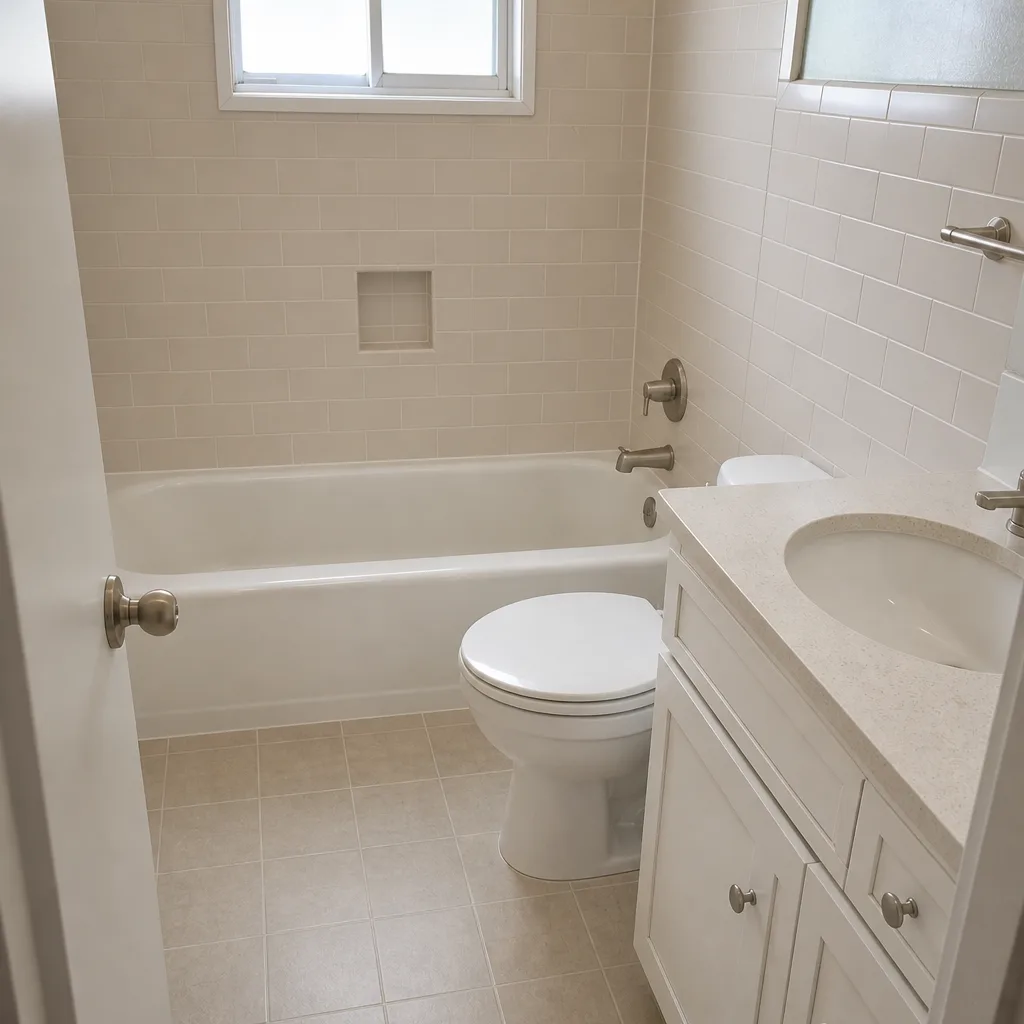 After
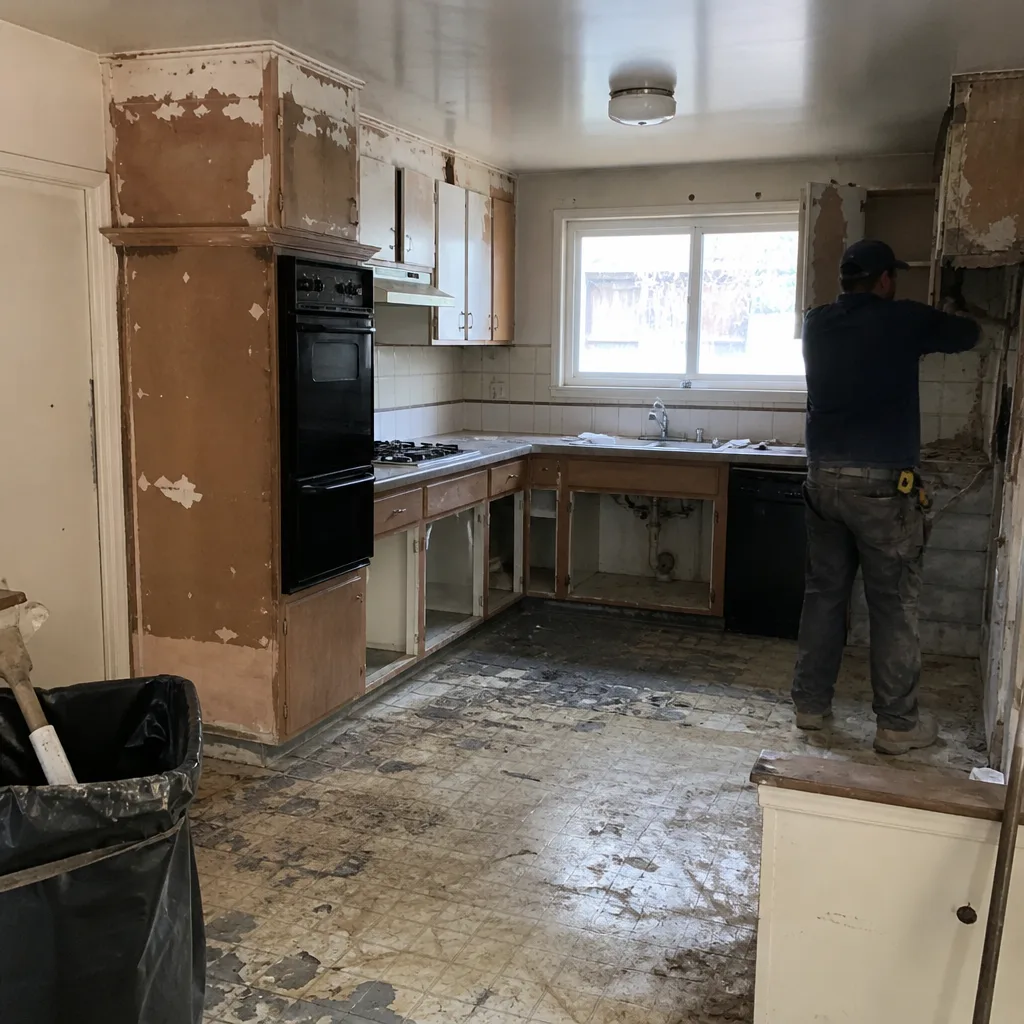 Before
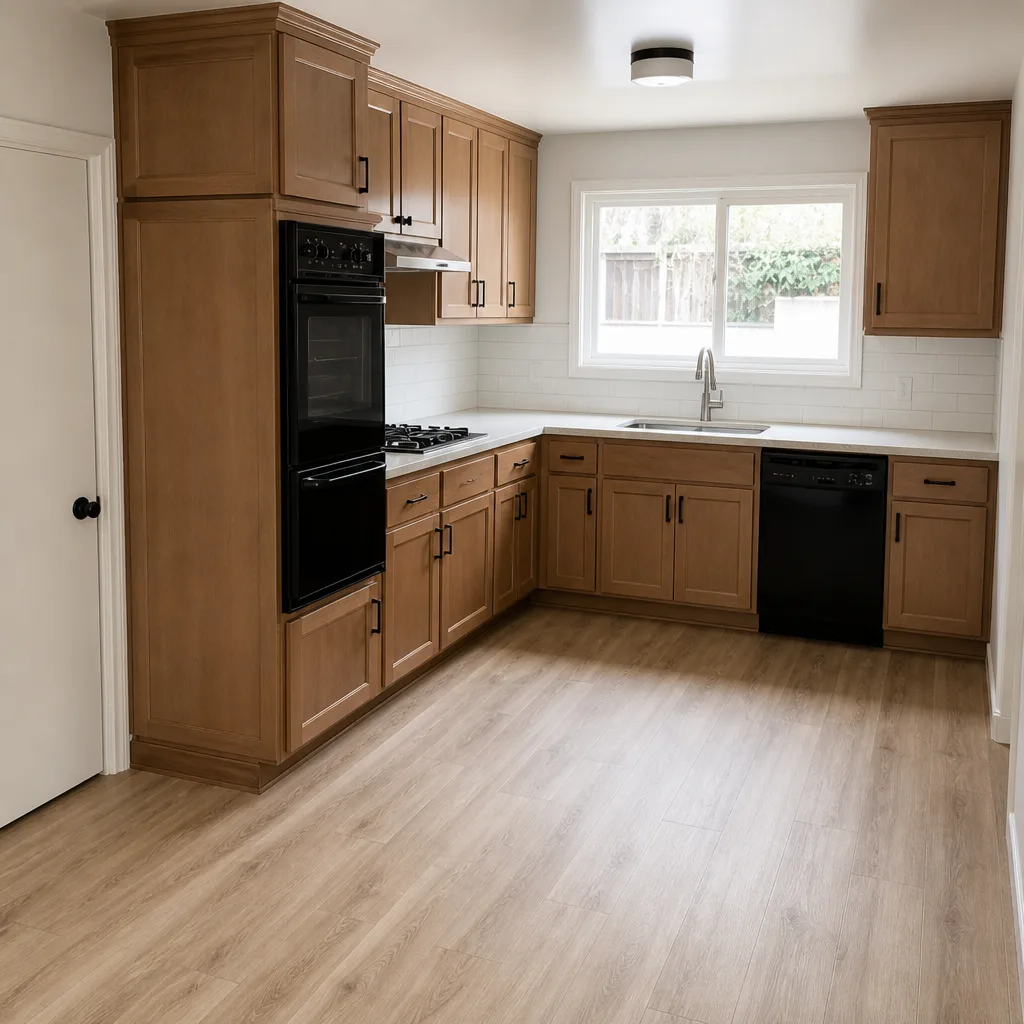 After
When to Call a Professional
Call a professional when the symptom points to something you can’t safely diagnose from the surface: a bounce that keeps getting worse, a diagonal crack that widens, a door frame that’s visibly out of square, water that appears inside after rain and doesn’t stop, or a defect in plumbing or electrical rough-in. Those are causes that live behind the finish, and cutting into them on a guess is how a small repair becomes a large one. High-tension garage-door hardware, electrical panels, gas lines, and steep-roof work belong to trained professionals, full stop. No homeowner should be on a ladder at the edge of a roof or inside a panel to save a service call. Bradford Remodeling Co Vallejo offers free estimates in Vallejo with a written price before any work starts and a live person answering the phone around the clock. Call (844) 560-4789 to schedule your free estimate.
Frequently Asked Questions

A localize squeak repair typically runs $150 to $400 when it’s a fastening issue accessible from above or below, and a full subfloor re-fastening with blocking can run $600 to $1,800 depending on square footage. If the cause is a compromised joist, expect more because sistering or blocking is involved. Call (844) 560-4789 for an exact quote after we diagnose the actual cause; estimates are free and come with a written price.
No, when the scope is written down and agreed before work begins. Our written price is the price, with no numbers that move at the door, and the scope defines what’s covered. If we find something behind a wall that no one could see, we stop, document it, and you get a revised written price to approve before any additional work starts. That’s the standard every job runs on.
Yes, permitted work gets a permit pulled and inspections passed as part of the job. Structural changes, electrical, plumbing, and most additions require permits in Vallejo, and skipping them creates a paperwork problem when you sell. The permit and inspection record is part of the job record, not an add-on.
Look at the pattern and the direction. A straight hairline crack along a seam under 1/16 inch that appears in the first year and stops is normal. A diagonal crack from the corner of a door or window, or any crack that keeps widening, points to structural movement and should be inspected before it’s patched. Measure it and check again in 60 days.
Every completed Bradford Remodeling project carries a full-year written guarantee: if the work fails or isn’t done right inside that window, we return and correct it at no charge. The guarantee is written into your project agreement, so you have the terms in hand. That covers workmanship on the scope we installed, and it’s why documenting the defect with dates and photos makes a callback fast.
Call for an independent inspection when the cause is disputed, when the original contractor won’t respond, or when the defect points to a trade or structural element outside the original scope. The inspection report establishes cause in writing and supports a warranty claim or a CSLB complaint. You can also start with a free estimate from a different contractor to get a second professional read. Call (844) 560-4789.
The Bottom Line
When a remodel goes wrong, read the symptom before you buy the repair. Squeaks trace to subfloor fastening, corner cracks to structural movement, sticking doors to shimming or settlement, and interior stains to exterior flashing and grade. Measure what’s happening, photograph it with dates, and put your notice in writing, because a documented record is what turns a dispute into a callback. Know the difference between normal seasonal settling and a failure that’s getting worse. Fix the cause, never the surface. And when the cause lives behind the finish, call in a professional with a written price before work starts. Bradford Remodeling Co Vallejo does exactly that. Call (844) 560-4789 for a free estimate.
Written by the team at Bradford Remodeling Co Vallejo.